
Appearance, privacy and mail settings
These installation-wide settings require a superuser. In Community use Customization, Funding and Configuration; in VZD use Instance settings. Save each edited form explicitly and inspect the actual public/intake page in both languages.
Branding and bilingual copy
Section titled “Branding and bilingual copy”In Customization, set the application name, English/Slovenian tagline, logo, favicon, colors and footer elements. Use the upload controls or supported image URL fields. Check contrast, mobile readability and the favicon after saving; a logo selection is not a completed save.
Edit home and new-report headings/descriptions in both languages using the relevant copy controls. In VZD these are under the appearance/intake settings. Use content appropriate for the module rather than describing Community’s public map on a private workplace intake form.
Privacy and reporting behavior
Section titled “Privacy and reporting behavior”- Community Configuration → General: choose whether guest reports can be anonymous and whether publication requires approval. Requiring email confirmation needs working mail.
- Community map settings: set public location precision, allowed-region boundaries and any restrictions on report creation/public map display. Review the pin shown to the public separately from staff’s exact selected location. Search/zoom to set the initial map view and save it.
- Customization/privacy fields: enter your organization’s controller name/address, privacy contact, any applicable DPO contact, approved legal-basis text in both languages and effective date. Do not reuse demo identity text for production.
- VZD Instance settings → General: maintain English/Slovenian intake privacy notices. VZD contacts and cases use explicit removal workflows, not Community’s unconfirmed-submission cleanup.
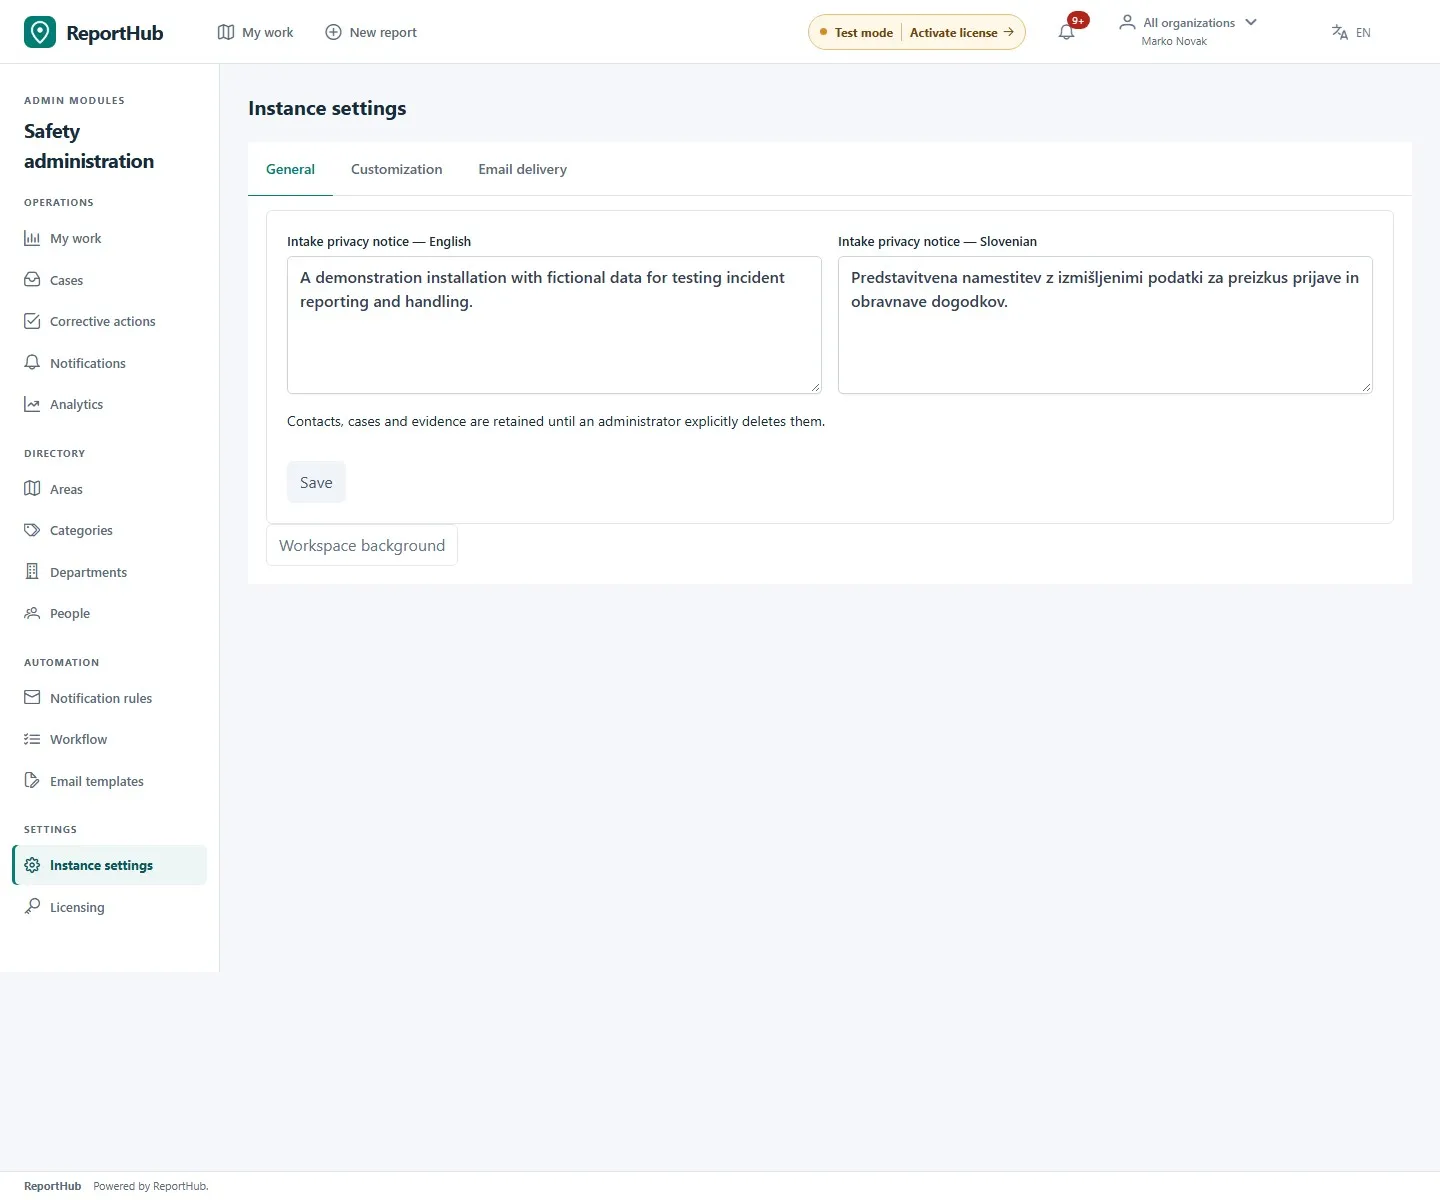
Demo interface
Use Areas for VZD maps/plans and reporting visibility. A plan intake link can reveal the entire plan image. Changing a notice or precision setting does not by itself complete an organization’s privacy review.
Mail settings
Section titled “Mail settings”- Open the Email section/tab in Configuration or Instance settings.
- Set delivery enablement, default language, SMTP host, port, TLS mode and sender email/name according to your provider.
- SMTP username/password are deployment secrets, not editable here. Ask the installation operator to set them through the environment.
- Save before using the test controls. Enter a controlled test recipient and use Send test email; check the result and the actual mailbox.
- If a test fails, inspect the host, sender authorization, port/TLS and credentials with the operator. Do not disable certificate checks to work around a provider problem.
Saved application mail settings can override environment defaults. Demo preparation turns delivery off in saved configuration. A transport test does not validate every notification rule or template.
Community funding information
Section titled “Community funding information”Open Funding when your project needs a funding notice. Set its enablement, bilingual project/intervention/applicant text and the offered content sections, source link and branding. Save and check the public footer and funding page. Leave it disabled when there is no applicable funding content; do not publish example sponsors or imply a certification.
For container configuration and file storage, use the environment reference. For access after expiry, see licensing.