
Areas, plans and QR locations
Open Areas in Safety administration. Superusers configure the workspace background. Department administrators manage areas and microlocations within their permitted scope; operators and viewers do not have these directory controls.
Choose the workspace background
Section titled “Choose the workspace background”- Expand Workspace background. Choose a Map or Sketch (workplace plan).
- For a sketch, enter its name, choose a PNG, JPG or WebP image and save the workspace background. Use a legible plan appropriate for the reporting audience.
- For a geographic map, check the map defaults in instance settings. Zoom and pan to the working area.
An installation uses one workspace surface. Changing its background does not migrate areas and historical reports to a different coordinate system. Resolve dependencies before a change; do not replace a plan casually after reports have been recorded.
Draw or edit an area
Section titled “Draw or edit an area”- Select Draw a new area, enter an identifiable name and choose a color.
- Choose Polygon or Rectangle before drawing. Follow the on-screen hint: click polygon vertices and finish the shape, or draw the rectangle using the surface controls.
- Check the outline. Use vertex/move controls to adjust it, Undo while drawing, or clear the drawing to start again. Fit to view restores the plan view; map zoom/pan does not change the stored coordinates.
- Select the responsible active Department. Optionally choose the Default area assignee; without an eligible one, assignment falls back to the department lead and then Safety director.
- Choose reporting visibility: the General reporting link includes the area in general intake; link-only access requires the appropriate location link. New areas default to link-only.
- Check Active and save the area. Verify it in the list and in the intended reporting flow.
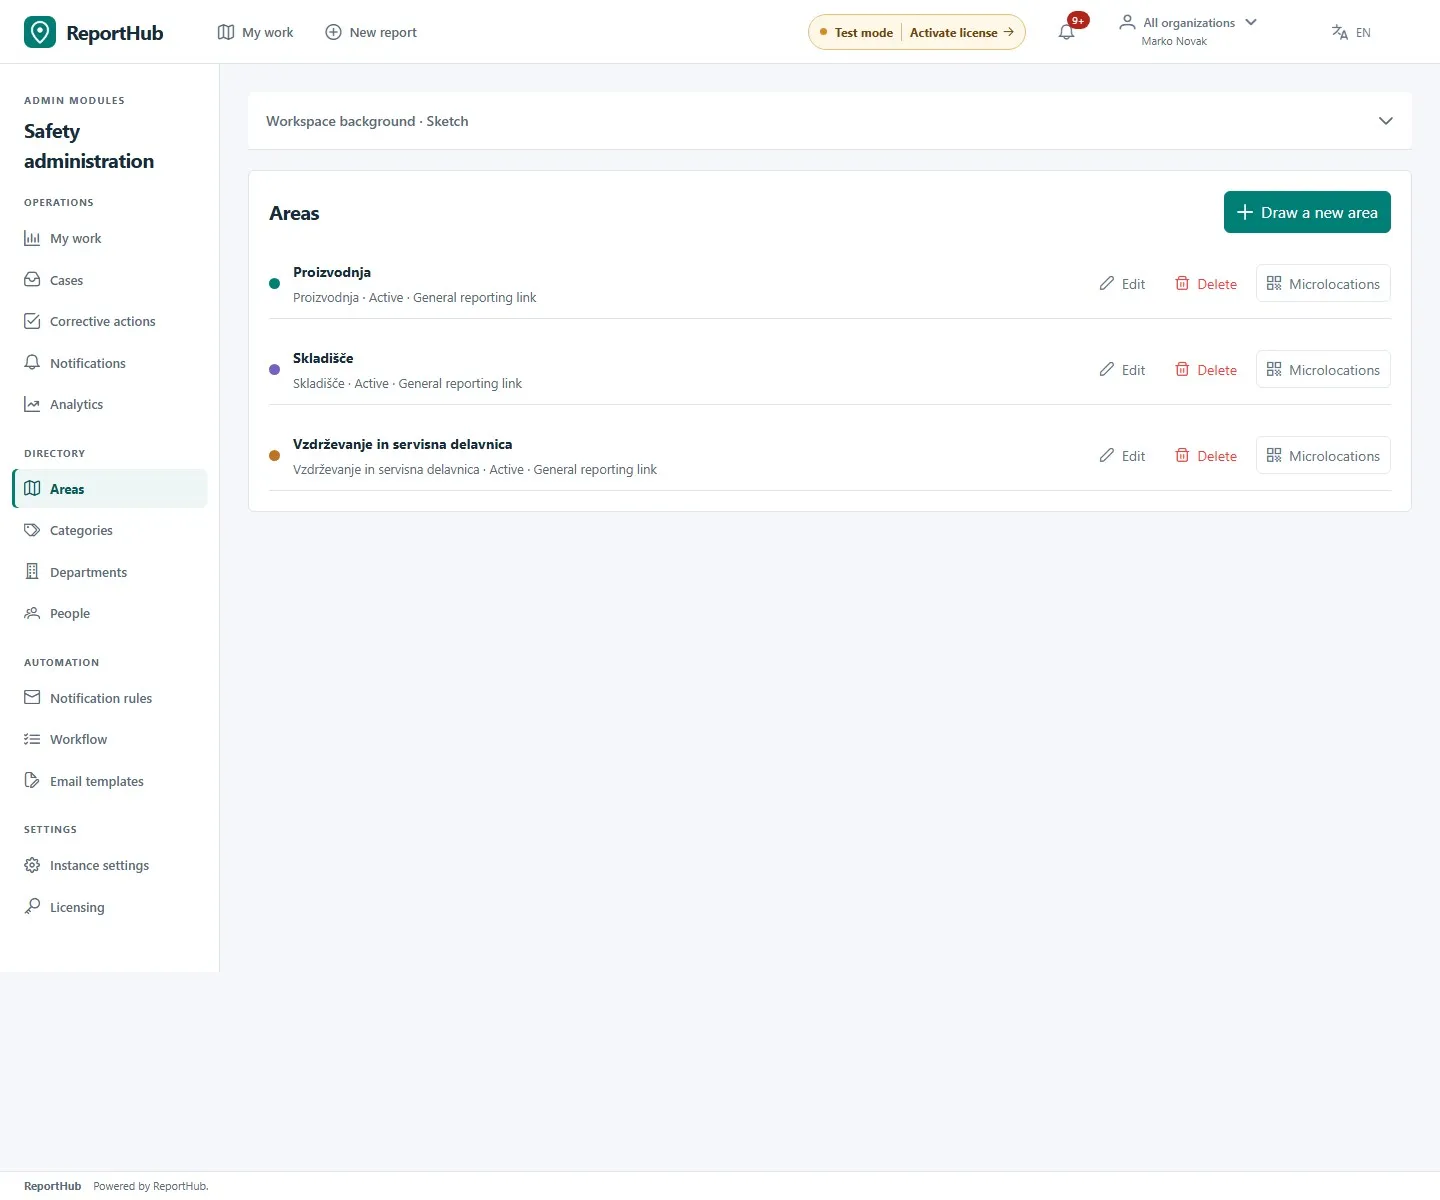
Demo interface
Use Edit on an existing area to update its shape or responsibility. An edit cannot leave active microlocations outside the polygon or switch their surface. Save or cancel before leaving the editor.
Add a microlocation
Section titled “Add a microlocation”- In the area’s row, select Microlocations → Add microlocation.
- Enter a recognizable name, such as a machine number, and pick its exact point inside the area’s polygon. Save.
- Select an existing point from the list or plan to edit its name or position, then save or cancel. The point’s department comes from the area; the QR link fixes the reporting point.
Publish, replace or revoke a QR code
Section titled “Publish, replace or revoke a QR code”- Select Show QR for an active microlocation. Create a new code if one is needed, then download its PNG or use the sharing controls.
- Place the code at the matching physical location with a clear label. Scan it using a phone and check the shown area and point before distribution.
- To replace access, generate a new QR: the previous code stops working. Moving the microlocation also rotates its code; renaming it preserves the code.
- Deactivate a location or area to revoke access. Reactivation requires a new code. Deactivate microlocations with historical reports rather than trying to delete them.
An intake link can display the whole referenced plan image. Do not use confidential plans unsuitable for reporters, or publish a QR in the product documentation. Editing a source point does not move historical report locations or rename their recorded location snapshot.
Continue with departments and responsibility or reporting a hazard.